Getting The Wire From Box To Box
Now that I have all the boxes mounted, its time to get the wire to the boxes. I will be using several methods. Those methods are, conduit pipe, flexible metal conduit, and Romex. If you are looking to purchase conduit, the kind you would be looking for will have the letters EMT printed on it. It stands for Electrical Metal Tubing. This is the best way to rough in electrical work. You can run more wire through this pipe and if for some reason later down the road you need another wire pulled you can, with conduit. With Romex, and flex you will not. If you use a larger flex you might get another wire through, but doubtful. Conduit is the most difficult to run, while flex and Romex are the easiest.
Drilling Holes In Ceiling Joists
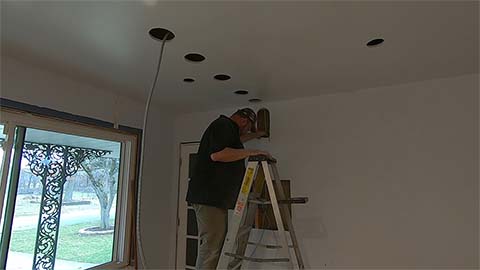
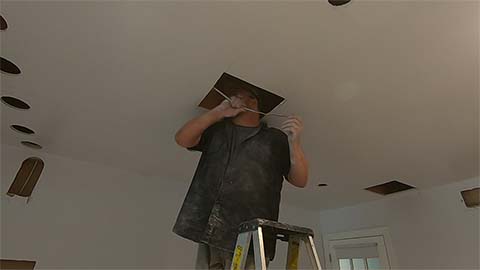
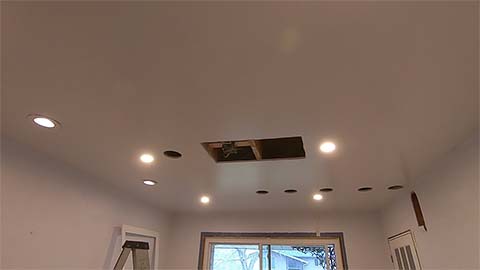
In the photo below you will see several holes in a line cut into the drywall. I cut the holes so I can get a drill into the ceiling and drill holes into the joists. I can hear it already. You can’t drill holes into joists, it will weaken them! You can safely drill holes into joists without weakening them if you don’t drill to big of a hole and you drill it in the proper location. Leave a comment in the Contact Me section if you would like to see a future post on explaining this.
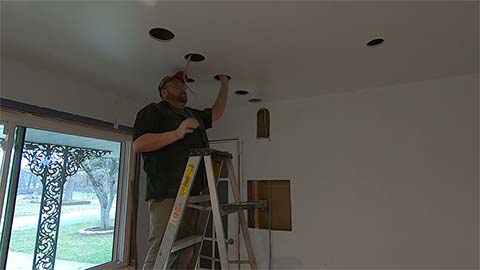
I used a 6″ hole saw to cut the holes in the drywall. This is just big enough to get a drill and a paddle bit into the ceiling to drill the holes into the joists.
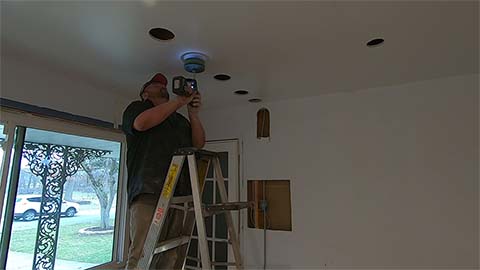
Then I used a drill with a 1″ paddle bit to drill into the joist. I will do this to each joist until I reach the pocket with the box for the ceiling fan.
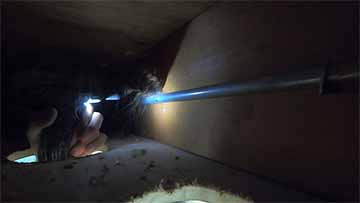
Then I will pull the flex through those holes and connect it to the ceiling fan box. The ceiling fan box will also act as a junction box for my recessed lights.
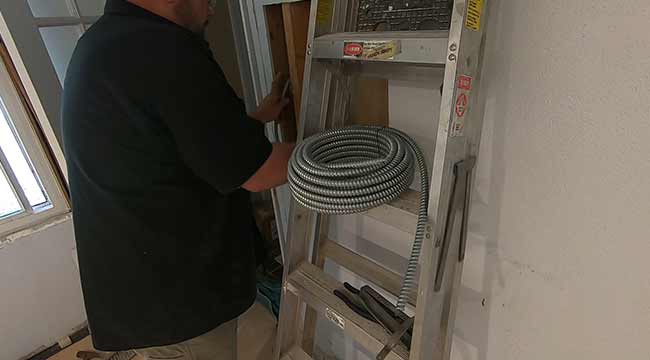
Flexible conduit comes in a roll as you can see from the picture below. Because it’s flexible, it has many ridges. So before I run the flex line from the switch box to the ceiling box I will pull the wire through the flex. I am using 3/8 flex and I can pull 3 wires through it. Its difficult to pull the wire through if I stretch the flex straight, so it would be very difficult to pull wire through if the flex was installed because of the twists and bends to run it through the walls.
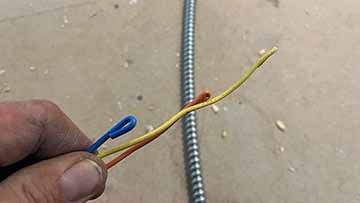
I was going to try to push the wire through by making loops on the ends of the wire. I couldn’t get it through so I had to use a fish tape. I held the flex straight as my son pulled the wire through.
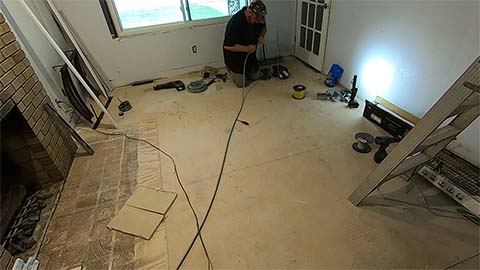
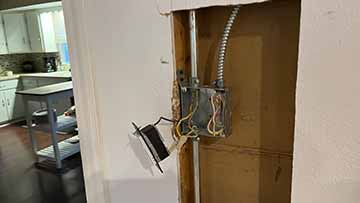
Once I had the wire run through the flex I ran it from the box to the switch box at the front entrance to the room. From the other entrance I used solid pipe because I needed more than three wires. I needed wires for the three way switches that will power the recessed lights and a separate line and neutral wire for the ceiling fan.
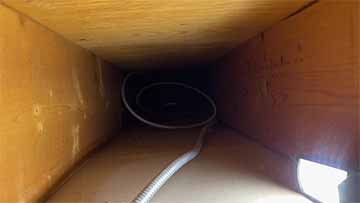
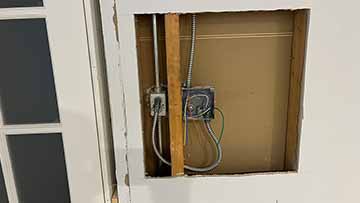
With solid pipe. I install the pipe first then pull the wire after it is installed. I could easily push two or three wires through the pipe without a fish tape. It gets a bit more difficult with more than that so I will use the fish tape.
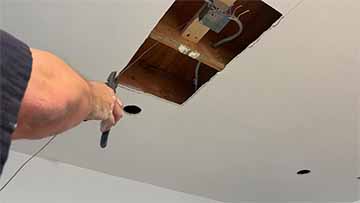
For the recessed lights I use Romex. I start the Romex at the box that I’m using for the ceiling fan, then run them to all the openings for the recessed lights. You’re probably wondering why I am running so many wiring sources. Meaning pipe, flex, and Romex. I only had a little flex and Romex. I have plenty of pipe, however I was never going to use all pipe. Because of the outrageous cost of materials right now, I’m using what I have left of the flex and Romex. Other wise I would have just used pipe and flex.
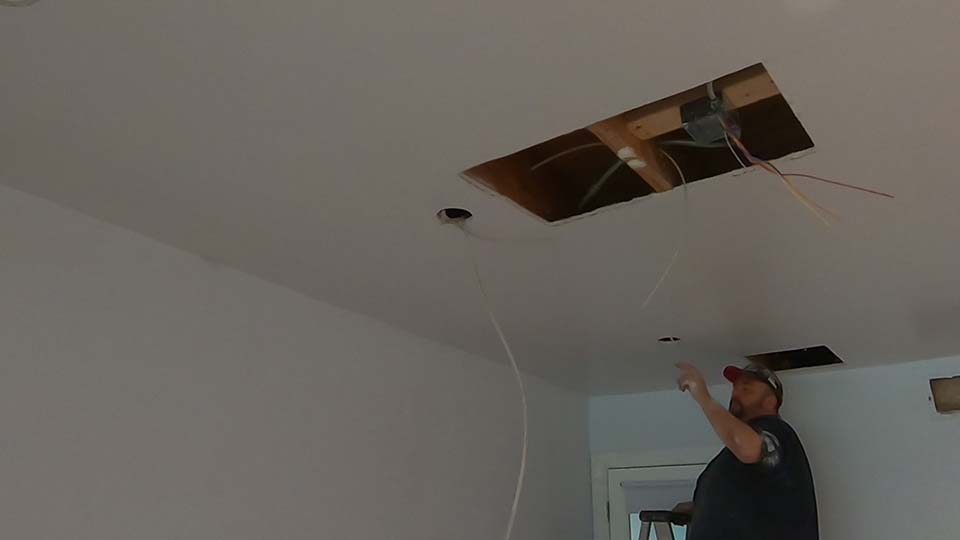
After I hook all the wires together in the ceiling box for the lights, I will wire the boxes that came with the LED lights. Then tuck the box in the ceiling. Then I plug the light into the plug on the box.
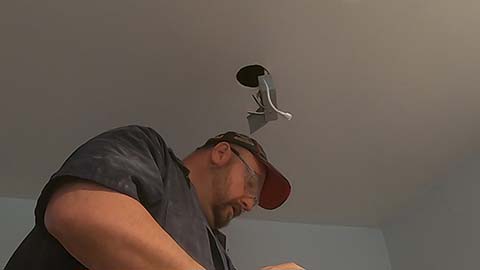
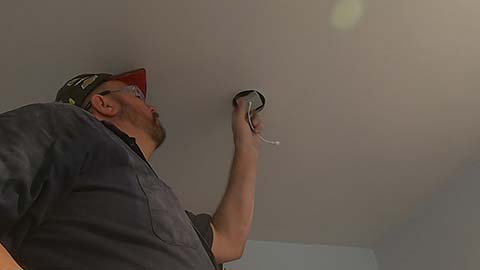
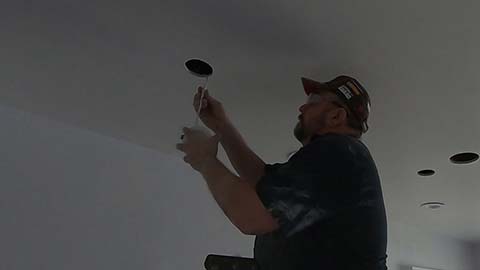
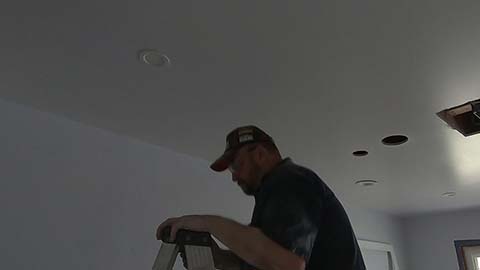
Then I wire the switches and test out the lights. I want to make sure the lights are working before I patch the drywall.
Changing The Existing Recessed Lights
There are two existing recessed lights in this room. They’re old and 6″ instead of 4″. I also want to move them closer to the fireplace. So I will remove and replace them. The existing recessed lights are not remodel lights. They were installed when the house was built so I will need to cut out the drywall and cut them out of the ceiling.
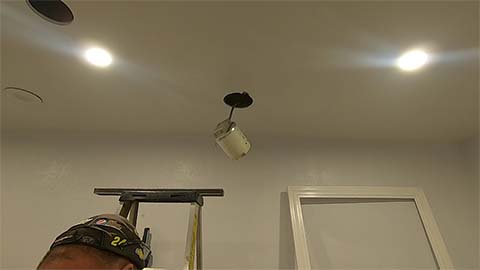
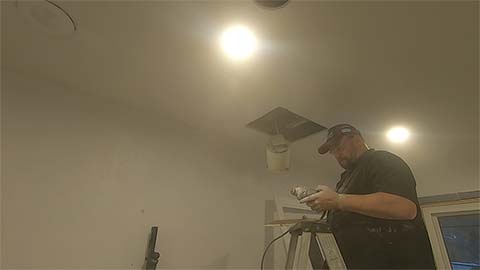
After I cut the drywall I use a reciprocating saw to cut the support brackets for the light fixtures.
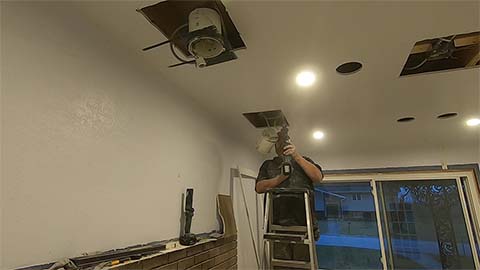
Once the fixtures are removed, I reuse the pipe that is coming from the switch for the first light, and run Romex to the second light.
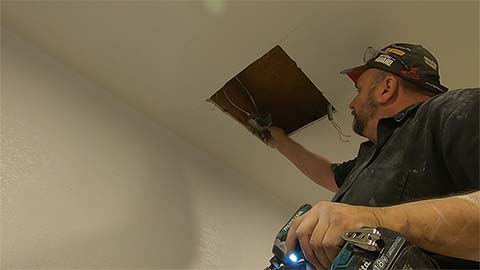
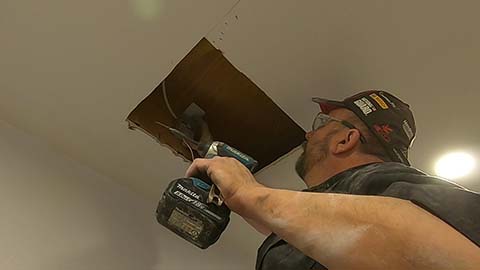
I want these recessed lights to be located just off the corner of the fireplace brick. To get the measurement for the location, I make a pencil mark on the brick, then measure off the wall, and transfer that measurement to the ceiling.
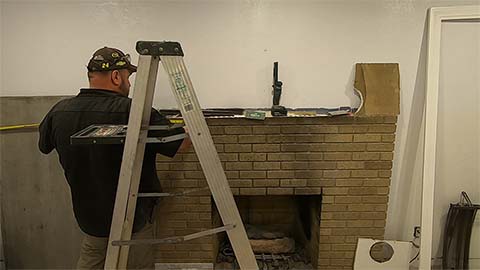
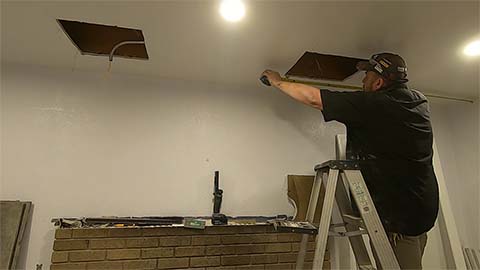
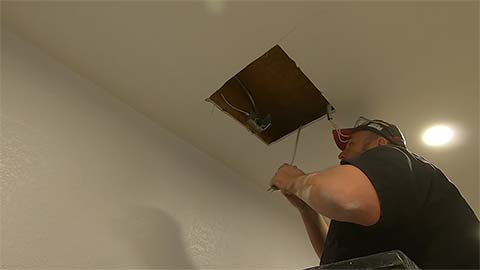
Because the drywall is cut out with enough room to work, I mount the supplied electrical boxes for the LED lights to the joist and connect the wires. I won’t cut the holes for the recessed light until I patch the drywall.
Next Step
There is a little more electrical work to do and I can’t do that until I frame the fireplace area, so that will be in the next post!
