Backing For The Drywall Patches
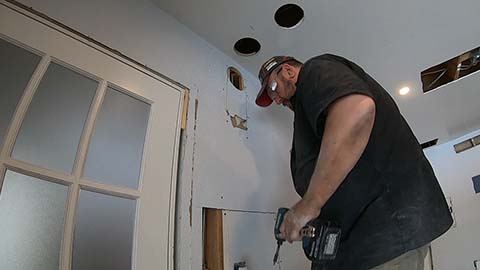
With the framing of the fireplace completed, it’s time to move on to the next step: patching and repairing the drywall. Before I can start, I need to ensure that I have the proper backing in place for the drywall patches. To do this, I’m using scrap lengths of wood that I will install as backers. As you can see in the picture below, I’m cutting the backer boards to be slightly longer than the patch area to provide a secure and sturdy foundation for the drywall repair.
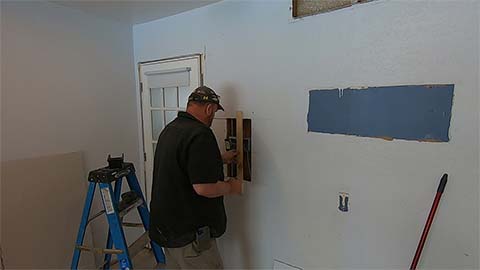
This will allow me to anchor the backing with drywall screws
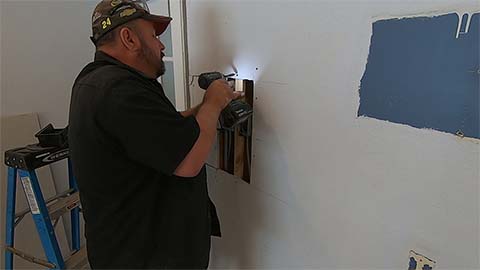
Now that the backing is in place, I can proceed with installing the drywall that was previously cut out. It’s always a good idea to save the pieces that were cut out, as they can be reused for patches like this. By using these pre-cut pieces, I can ensure that the replacement drywall is the exact size and shape needed for a seamless repair.
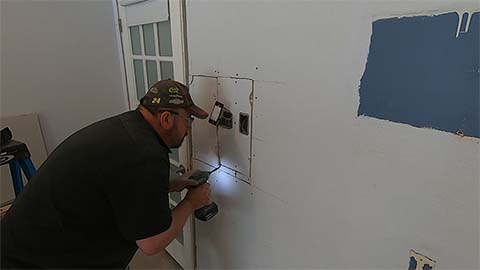
I will do this for all the holes I cut.
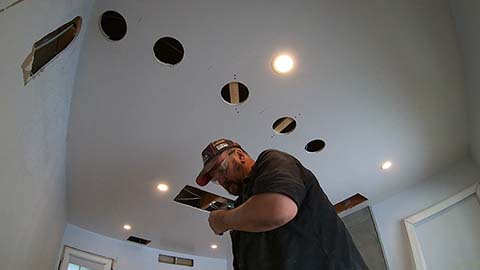
For the holes I cut and couldn’t reuse the piece that I cut out, I will cut a piece out of a new drywall.
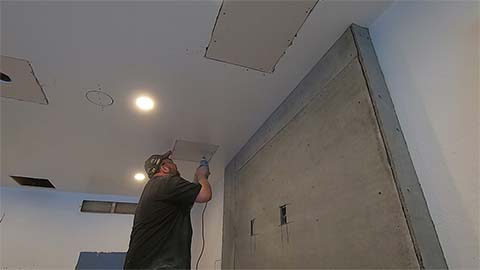
Another reason to save the drywall that was cut out is for its thickness. When I first started this project, I purchased a sheet of 1/2 inch drywall to replace the damaged section. However, upon cutting out the original drywall, I noticed that the home builder had used 3/8 inch drywall for the walls, which is quite thin. If you encounter walls with this thinner drywall, I would advise against hanging anything heavy with drywall anchors. Instead, be sure to find a stud or install backing to ensure proper support. Using drywall anchors with 3/8 inch drywall may not provide enough strength to hold heavier objects securely.
Taping The Drywall Repair
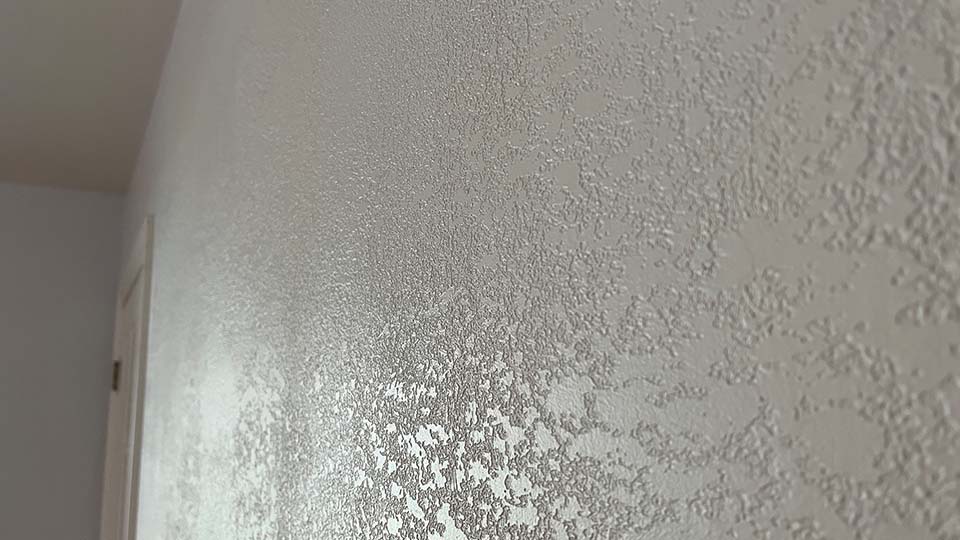
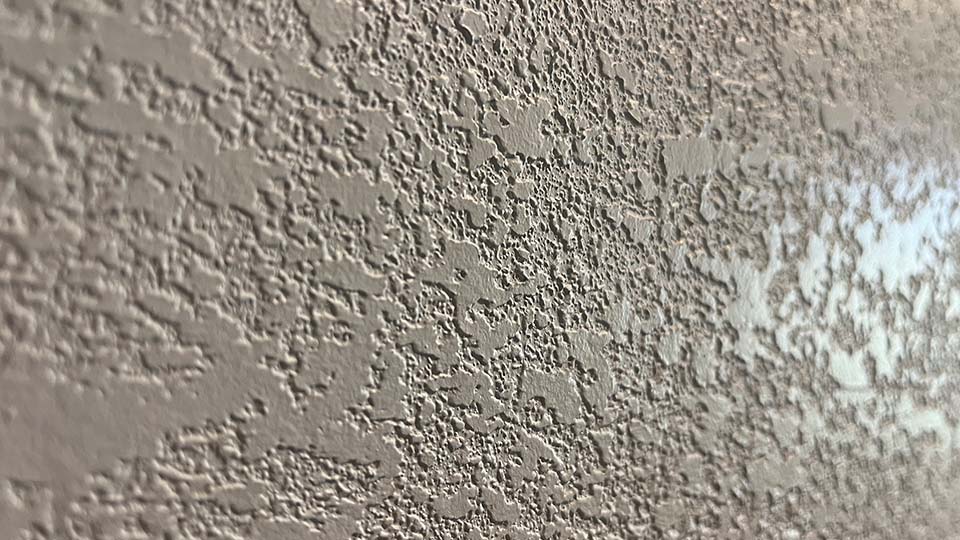
With the patches in place, the next step is to tape the repairs, which is a common procedure. However, in my case, I have an additional task that isn’t quite as standard: floating the entire wall. As you can see in the pictures below, all of my walls were textured, but I’m not a fan of that look. I could replace the drywall entirely, but that would be a lot more work and expense. Another option is to cover the existing drywall with 1/4 inch drywall, but that would also be costly and require a lot of effort. Instead, I’ve decided to skim coat the walls, which is still a considerable amount of work, but a more budget-friendly option. I’m confident in my taping abilities, so I’ll be using that method to achieve a smooth, seamless finish.
Before I start taping, a go around the room and seal all of the torn drywall.
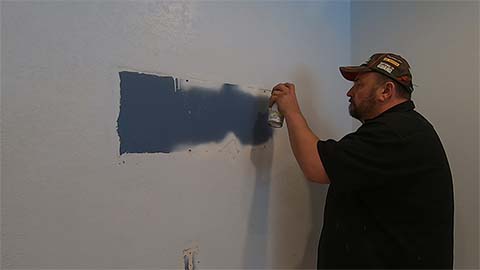
After I seal the torn areas of drywall, I move on to taping the first coat on all the cutouts.
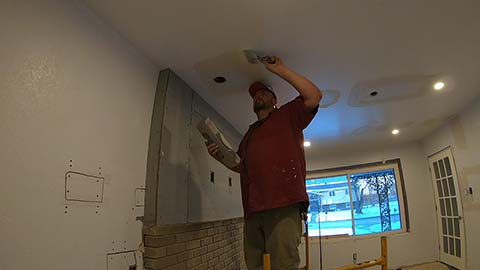
Now that I have the first coat of taping done, the next step is to lightly sand all the walls. All I am doing by sanding the walls down is to give the new coating of mud something to hold to. Basically I am doing the same thing to the walls as I would if I were painting a car.
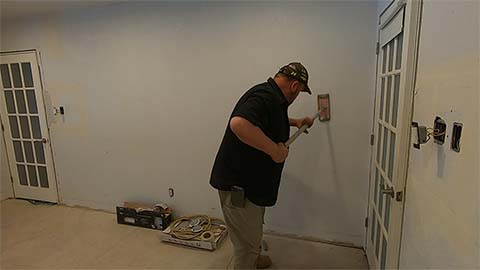
Thanks for following along with me as I share my experience on creating a home gym. But the work isn’t over yet! In the next blog post, I’ll take you through the process of floating all the walls and the methods I used to achieve a flawless finish. Trust me, it was a lot of work, but the results were well worth it! So, don’t miss out on my next post and make sure you come back often to see the room finished! See you soon!


