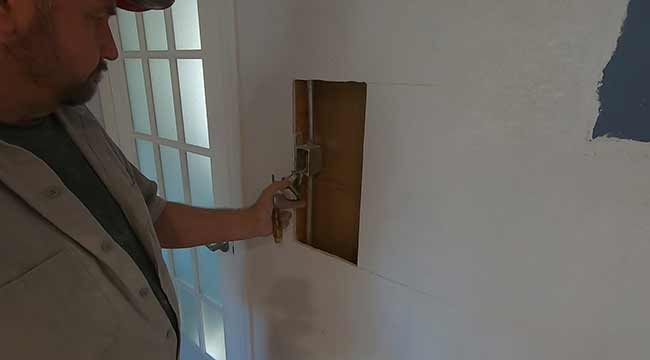
Time To Start The Electric
The next phase I’m going to work on is the electric. For this post I’ll be laying out for new LED recessed lighting. This will require laying out and cutting several holes in in the drywall.
Laying Out For Lights and Ceiling Fan
The easiest way to layout for lights and devices on a ceiling is to lay them out on the floor then transfer them to the ceiling with a dot laser. The first thing that needs to be done is find out where the ceiling joists are. I need to know where the joists are so I don’t put a recessed light on a joist. The lights can always be positioned around the joists so the layout looks even on all sides of the room. I will start by finding the first couple of joists on the ceiling.
Using The Tap Method
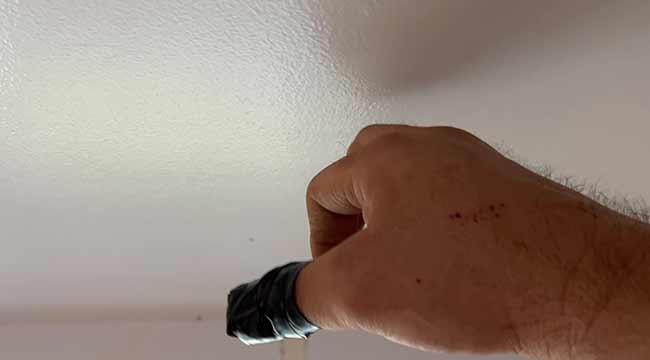
One way to find the joists is to knock on the ceiling. When you knock on the drywall you will hear a hollow sound. Start moving to the right or left and keep knocking. When you reach a joist the knock will sound solid. Note the area that sounds solid with a pencil mark. Measure over to the right or left 16 inches and make another mark. Knock on the ceiling again to see if it sounds solid. If the joists are spaced out 16 inches on center, then it should sound solid.
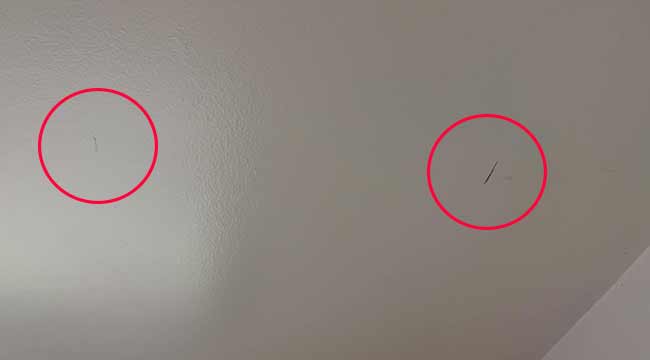
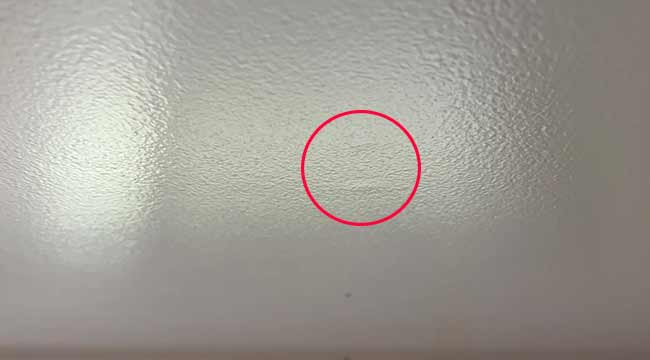
It was real easy for me to find the joists in my ceiling. The previous home owners painted the ceiling with semi gloss paint. Semi gloss paint shows all defects on walls an ceilings. So all I had to do was look for nail dimples. You can see in the picture below the nail heads are visible.
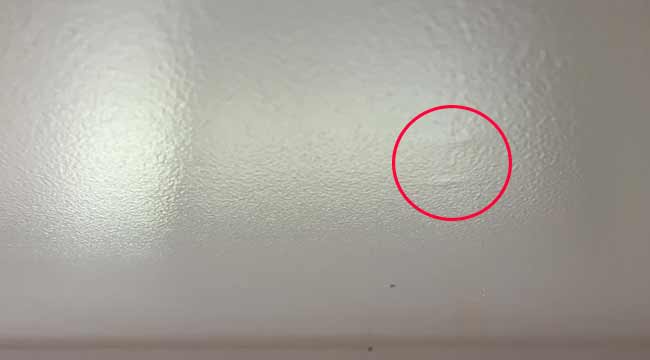
Then I measured over 16 inches and found the next joist. If you’re unsure if it is actually a joist with the knock method, then take a nail or screw and try drilling into the area, If screw or nail hits something solid, then you have located the joists. If the screw just spins or the nail pops through, then you’ll need to keep searching for the joists.
Marking The Joist Layout On The Floor
The next step is to mark the joist on the ceiling closest to the wall and measure from the wall to the first joist. In my case it’s 9-1/2 inches.
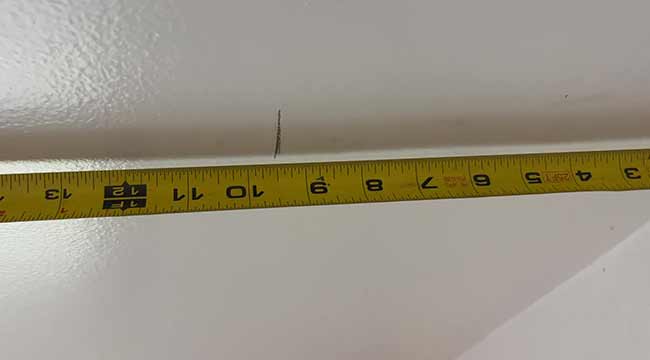
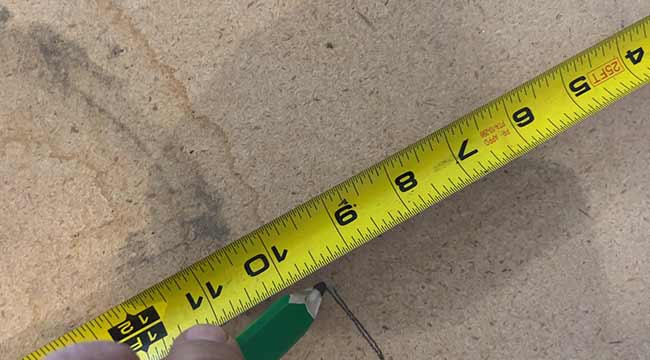
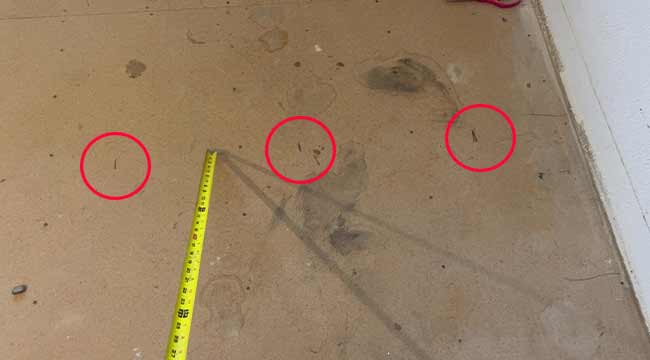
Then I will transfer that to the floor and proceed to mark the 16 inch centers all the way across the room. After all the joists are laid out, the area I’m looking for is the space between the marks and I call that area between the marks or the ceiling joists, pockets. I wanted you to know what I mean if I use the word pockets. Now that I know where the pockets are I can start laying out the lighting.
Where Should I Put the Lights?
In the picture above I chose the second full pocket over from the wall. That dimension came out to be 36″. In the picture below, I went to the other side of the room and measured over 36″ and made sure that dimension wouldn’t interfere with the ceiling joist on that side of the room and I also didn’t want it to be in the same pocket as the existing lights.

The diagram below shows the location of the lights in the room. As you can see from the diagram, I spaced out the lights equally from each corner of the room. If any of the lights would have landed on a joist, I would have had to adjust those measurements. I have to make sure the lights I’m going to install land in a pocket. They don’t have to be centered between the joist, they just need to be in the space between the joists. They also need to be even around the room. So if you do something like this make sure to take the time and lay everything out properly.

To add the last two lights I equally spaced them between the two corner lights.

Transfer Light Centers From Floor To Ceiling

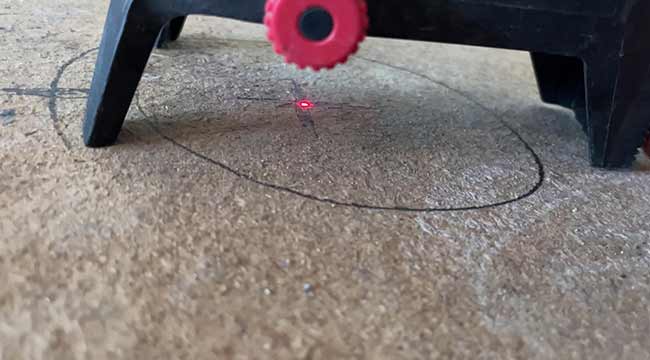
Once I have the dot lined up with my center marks, I look up to the ceiling and the dot shows the location of the light.
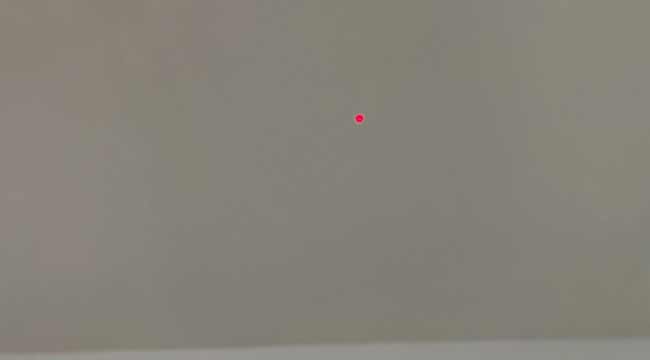
Then I take the template that came with the LED lights, line the red dot with the center of the template, then trace the template. If I had a 4″ hole saw then all I would do is mark the red dot with a pencil and line the centering drill on the hole saw with the mark and drill the hole. I didn’t have a hole saw that large so I used the template and traced.

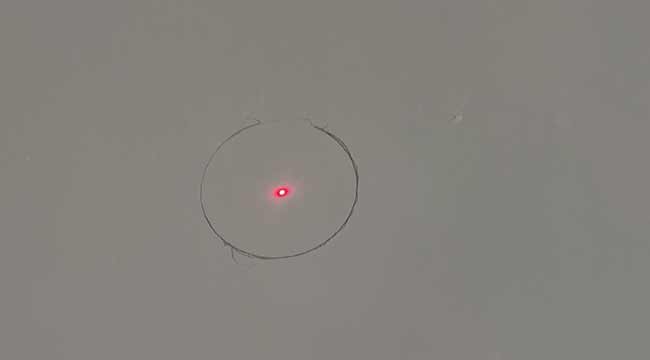
Next, I use a drywall router to cut the holes out . I will do this with all the rest of the lights.

In my next post I will cut more holes in the drywall so I can run the electric to the lights, change electrical boxes to add switches and rough in for the ceiling fan.
